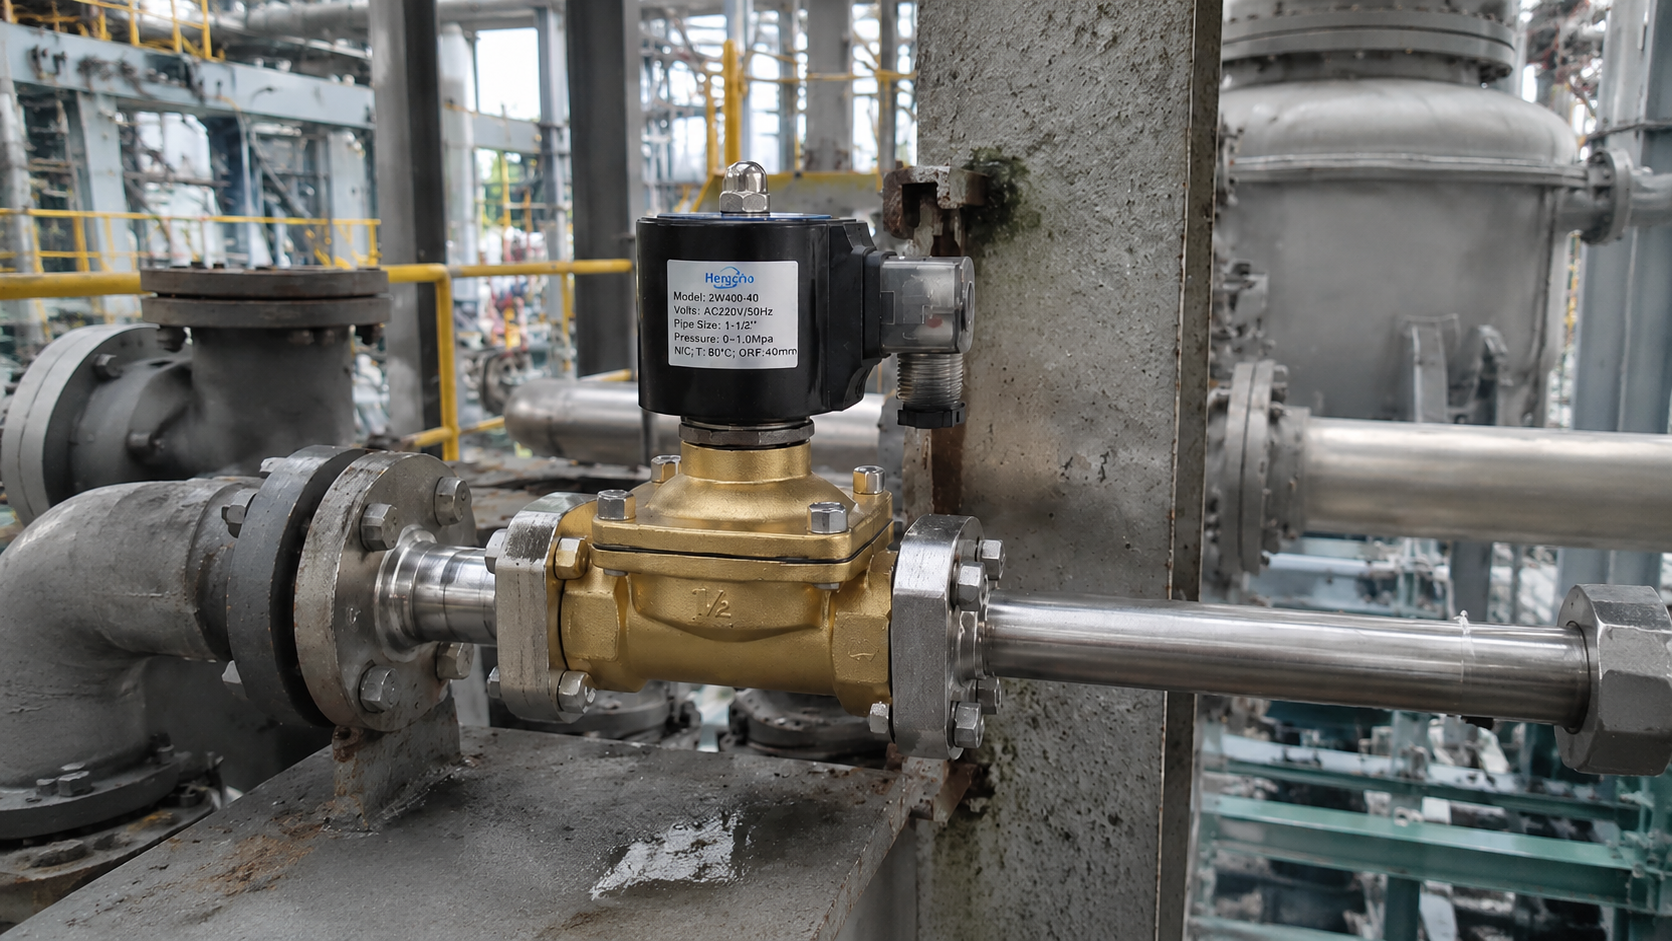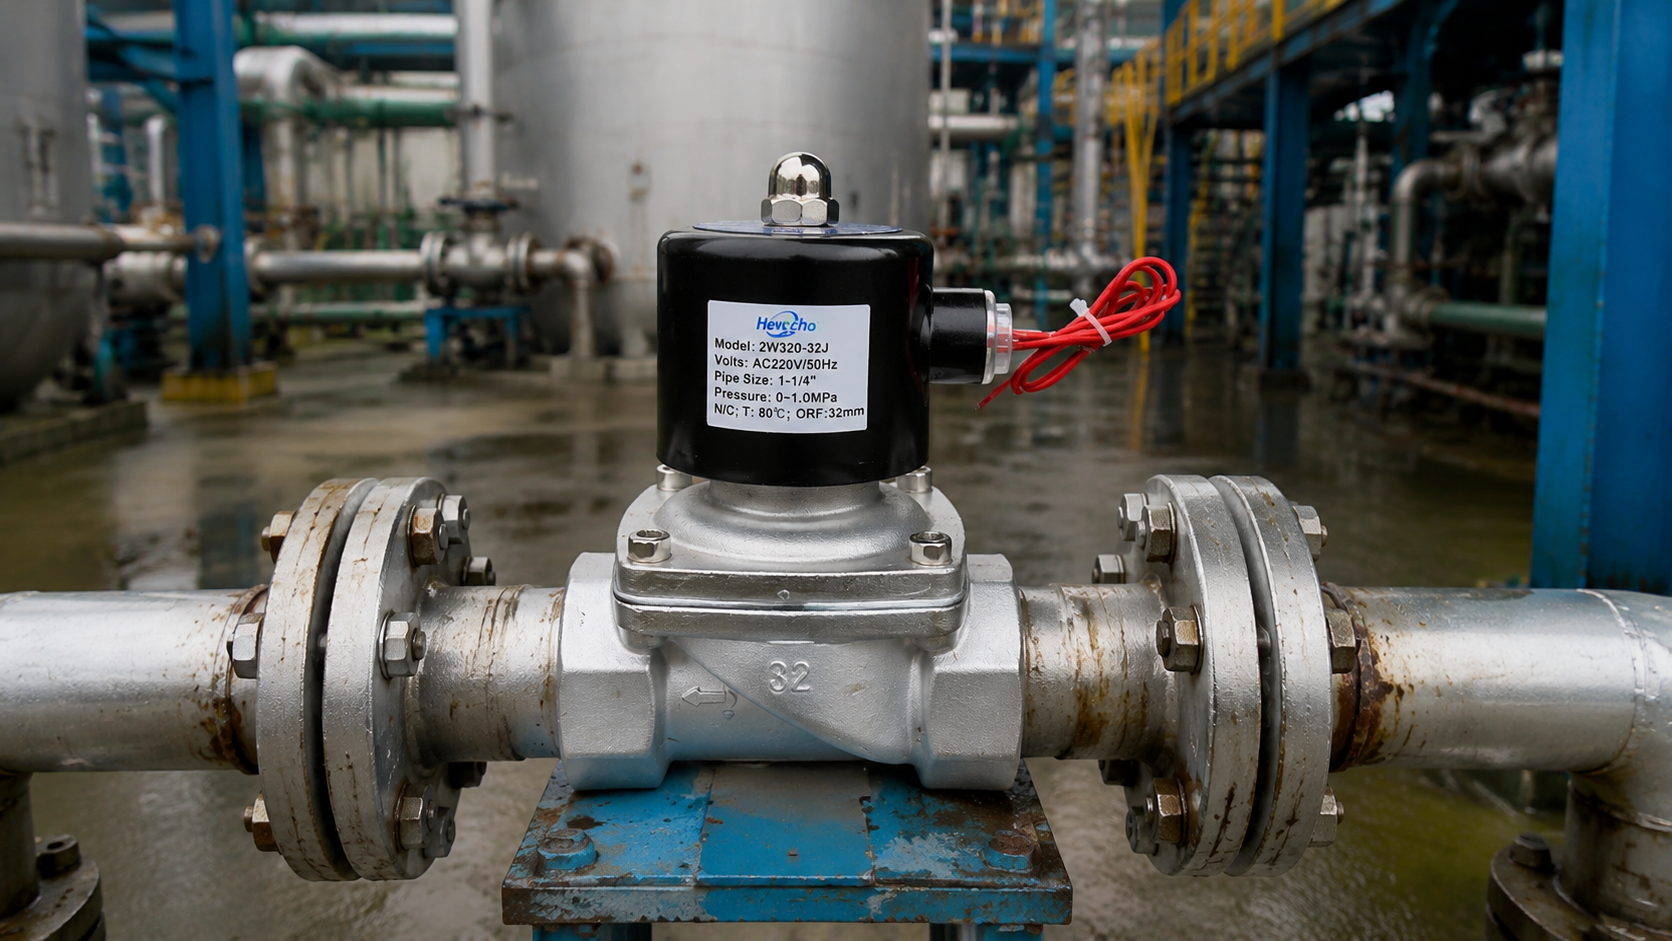
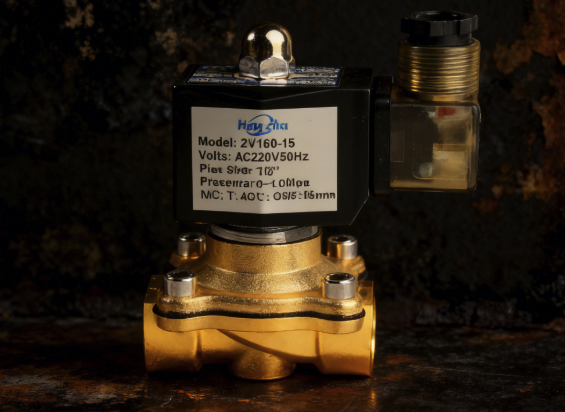
Solenoid valves are widely used in industrial systems to control water, air, oil, gas, and other media. When a solenoid valve stops working, it can interrupt production, reduce efficiency, or damage equipment.
The good news is that most solenoid valve problems are easy to diagnose and fix.
This guide explains simple troubleshooting steps using clear language that anyone can understand.
1. Check the Power Supply
Electrical issues are one of the most common causes of solenoid valve failure.
What to check:
- Is the coil receiving the correct voltage? (e.g., 24VDC, 110VAC, 220VAC)
- Are the wires loose or damaged?
- Has the fuse or breaker tripped?
What it means:
- If the coil has no power, the valve won’t open or close.
- If the voltage is too high, the coil may overheat and burn.
Quick fix:
- Measure voltage with a multimeter
- Reconnect loose wires
- Replace damaged cables or fuses
2. Listen for a “Click” Sound
When power is applied, a healthy solenoid valve usually produces a soft click.
If you hear a click:
- The coil is working
- The problem may be mechanical (plunger, orifice, dirt, pressure)
If you do NOT hear a click:
- Coil may be burned
- Electrical connection may be wrong
- Plunger may be stuck
Quick fix:
- Test the coil separately
- Replace the coil if burned
- Clean internal components if stuck
3. Check the Working Pressure
Many solenoid valves — especially pilot operated types — need a minimum pressure to work (e.g., 0.3–0.5 bar).
Symptoms of low pressure:
- Valve does not open
- Valve opens sometimes but not always
- Weak or unstable flow
Quick fix:
- Use a direct acting solenoid valve if pressure is too low
- Check pump performance or upstream pressure
- Avoid pressure loss from clogged filters or narrow pipes
4. Inspect the Valve for Dirt or Blockage
Dust, debris, rust, and particles can easily block small passages inside the valve.
Signs of blockage:
- Valve stuck open or closed
- Irregular flow
- Reduced pressure or flow rate
Quick fix:
- Remove the valve and clean the internal parts
- Install an upstream filter (50–100 microns recommended)
- Flush the pipeline before reinstalling
Clean systems = longer valve lifetime.
5. Check the Coil Temperature
A coil that is too hot usually indicates an electrical or mechanical issue.
Causes of overheating:
- Wrong voltage
- Coil energized for too long without rest
- Plunger stuck, causing the coil to work harder
- High ambient temperature
Quick fix:
- Confirm correct voltage
- Use continuous-duty coils in long-cycle applications
- Improve ventilation
- Fix mechanical blockage
6. Examine the Seal and Diaphragm
Over time, seals and diaphragms can wear, crack, or swell—especially if exposed to incompatible fluids.
Signs:
- Leakage
- Valve not fully closing
- Slow response
Quick fix:
- Replace worn seals
- Choose the correct material:
- NBR → water, air, oil
- EPDM → hot water, steam
- FKM/Viton → oil, fuel, chemicals
- PTFE → aggressive chemicals
Correct seal material = fewer failures.
7. Confirm Installation Direction and Orientation
Incorrect installation is a surprisingly common problem.
What to check:
- Follow the arrow on the valve body
- Install the coil upright when possible
- Avoid flooding the coil with water or condensate
Quick fix:
- Reinstall according to the flow direction
- Protect the electrical components from moisture
Final Thoughts
Troubleshooting a solenoid valve does not require advanced skills. By checking the electrical connection, pressure, cleanliness, coil, seal, and installation, you can solve most common issues quickly.
A well-maintained solenoid valve will:
- Reduce downtime
- Increase system reliability
- Lower maintenance cost
- Extend equipment lifetime
If you want the next article to focus on steam solenoid valves, IP protection, coil types, industry applications, or maintenance tips, just tell me — I can write the next one anytime.