January 1, 2026
Eric Jiang
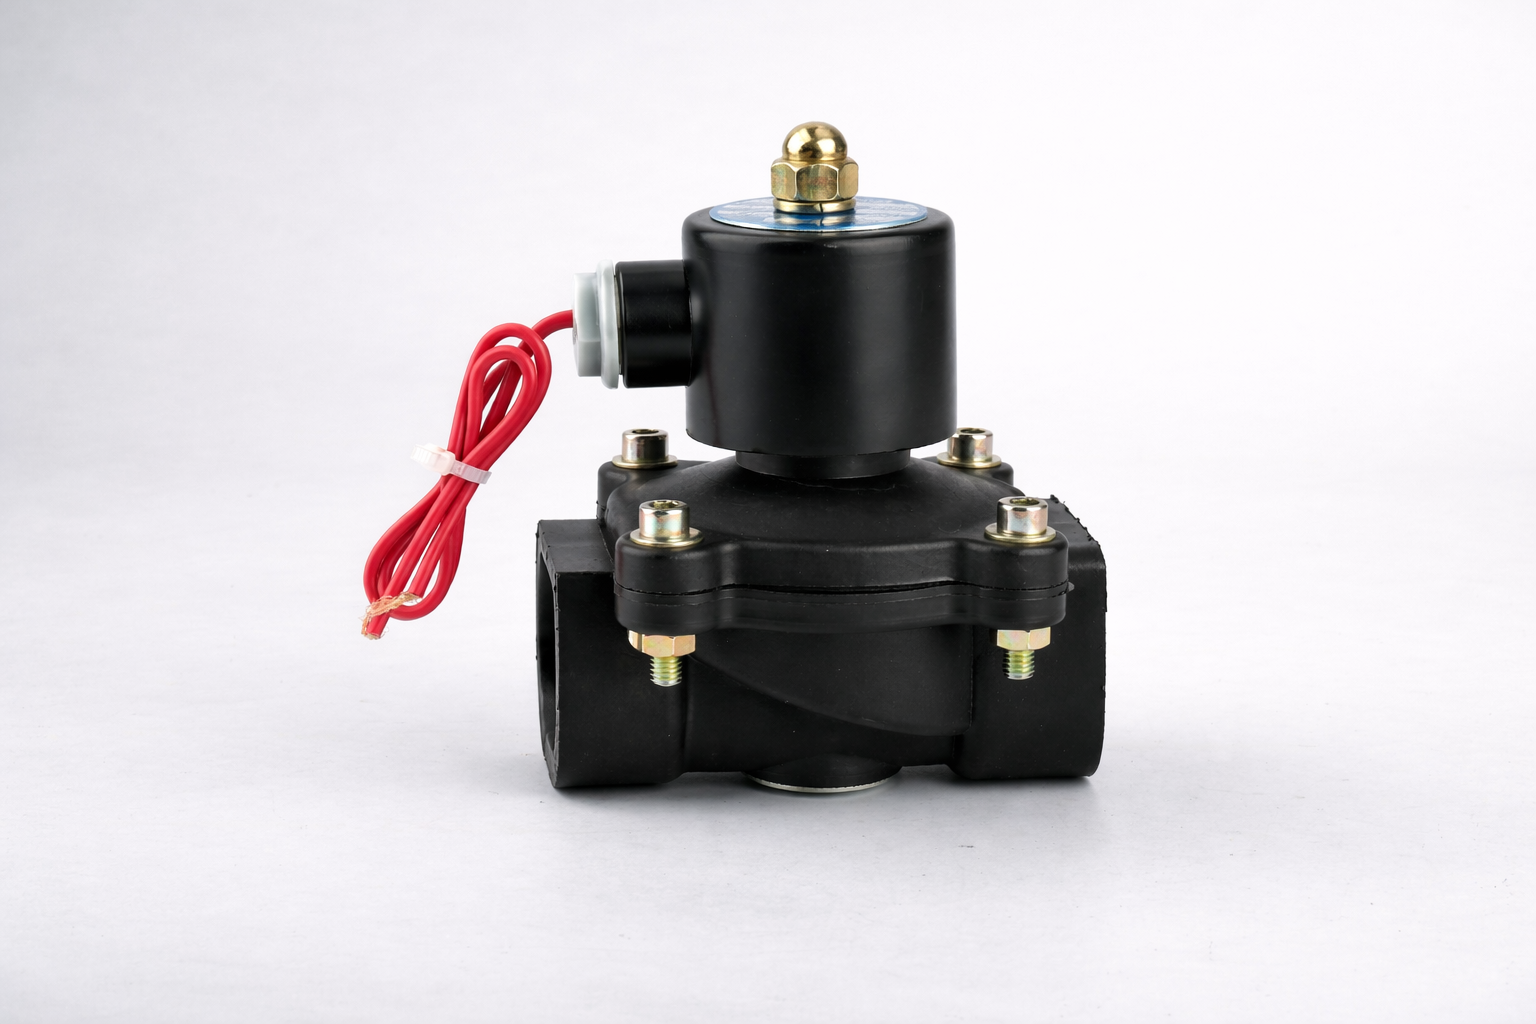
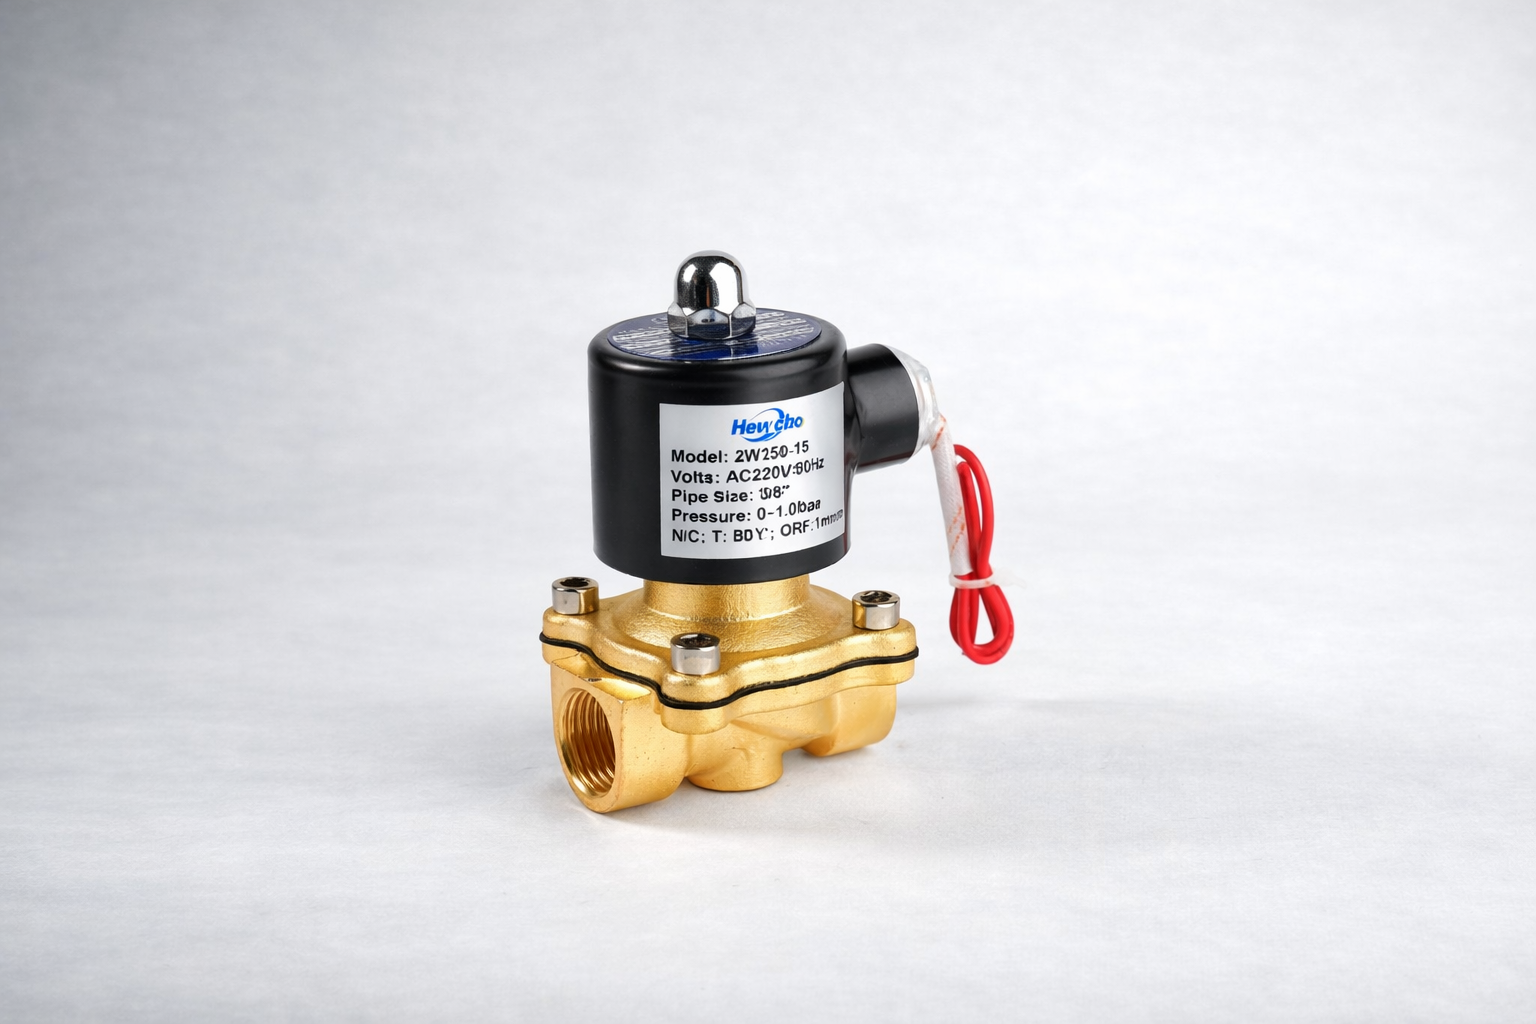
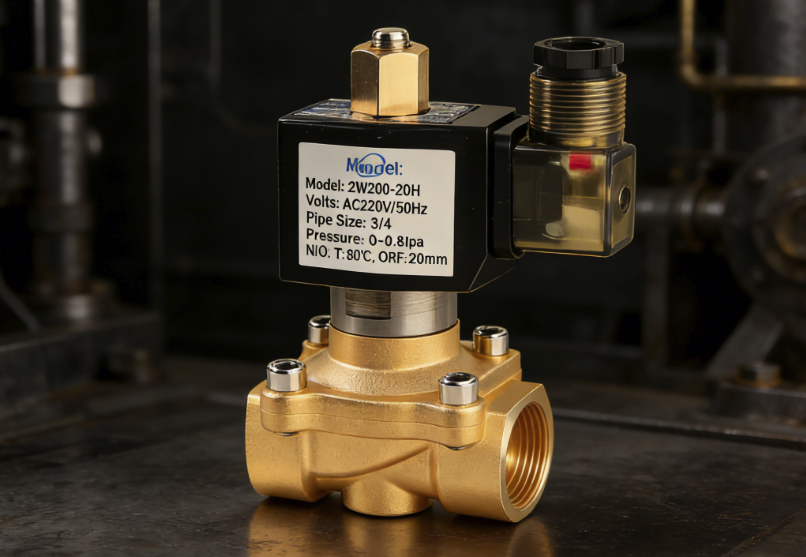
Solenoid valve
In steam service, a solenoid valve can be perfectly selected—stainless steel body, EPDM seal, high-temp coil—and still fail early if the installation layout is wrong. Most “steam valve problems” are actually caused by condensate, debris, and coil overheating due to poor mounting.
This guide shows a practical, field-proven installation layout for steam solenoid valves, including where to place the drip leg, steam trap, Y-strainer, and how to position the coil for longer service life.

1. Why Installation Matters More in Steam Than in Water or Air
Steam lines create special risks:
- Condensate forms constantly (even in good systems)
- Wet steam can erode seats and cause unstable pilot operation
- Water hammer can damage the valve instantly
- Steam piping often contains rust/scale that can block pilot holes
- Heat radiates into the coil and shortens coil life
A good installation layout prevents these problems before they start.
2. The Ideal Steam Solenoid Valve Layout (What You Want to Build)
A typical “best practice” sequence looks like this:
Steam source → isolation valve → Y-strainer → drip leg → solenoid valve → downstream equipment
And the drip leg drains through a steam trap.
This approach protects the valve from:
- debris (strainer)
- condensate and wet steam (drip leg + trap)
- heat damage (coil position and shielding)
3. Install a Y-Strainer Upstream (This Is Not Optional)
Steam systems often carry:
- welding slag after maintenance
- rust flakes from old pipes
- scale deposits
These particles can:
- scratch the seat (leakage)
- block pilot passages (valve not opening)
- stop full plunger movement (coil overheating)
Best practice
- Install a Y-strainer upstream of the solenoid valve
- Choose a mesh suitable for your valve orifice and process cleanliness
- Plan a cleaning schedule (steam dirt comes back)
4. Use a Drip Leg Before the Valve to Catch Condensate
A drip leg is a vertical pipe section that collects condensate so it doesn’t slam into the valve.
Why it works
- condensate is heavier than steam
- it naturally drops into the drip leg instead of entering the valve body
Best practice
- Place the drip leg before the solenoid valve, especially on horizontal steam lines
- Use a proper low-point design so water collects there, not inside the valve
5. Add a Steam Trap to Drain the Drip Leg (And Keep It Working)
A drip leg without a trap is just a “water storage tank.” It must drain continuously.
Best practice
- Install a steam trap on the drip leg outlet
- Ensure the trap discharge line is not flooded or blocked
- Verify the trap works during both startup and steady operation
If the trap is stuck closed or incorrectly installed, condensate returns to the line and you’ll still get:
- water hammer
- valve seat damage
- chattering and unstable opening
6. Coil Position: Mount Upright and Keep It Away From Radiant Heat
Steam coils fail mainly from heat + time + poor mounting.
Best practices
- Mount the coil upright whenever possible
- Avoid downward-facing connectors (water and moisture can enter)
- Keep distance from hot pipes and boiler casings
- Use a heat shield if radiant heat is unavoidable
- Never wrap insulation over the coil (traps heat inside)
A coil running even 10°C cooler can last much longer in continuous-duty steam service.
7. Valve Orientation and Flow Direction: Simple, But Often Wrong
Many steam solenoid valves have an arrow showing flow direction.
If installed backward, common symptoms include:
- valve does not open
- severe pressure drop
- unstable pilot operation
- abnormal noise and vibration
Best practice
- Always confirm the flow arrow matches actual steam flow direction
- If the line changes direction during a retrofit, re-check orientation
8. Control Water Hammer With Layout, Not With “Stronger Valves”
Water hammer is usually caused by condensate and rapid pressure changes.
To reduce water hammer:
- Ensure condensate removal (drip leg + trap)
- Avoid oversized valves
- Use stable pipe slope and drainage points
- Avoid long horizontal sections that trap water near the valve
A “stronger valve” doesn’t solve water hammer—it just survives slightly longer.
9. Typical Installation Scenarios (Fast Recommendations)
A) Steam main line control
- Pilot-operated valve (if pressure is stable)
- Y-strainer + drip leg + trap is highly recommended
B) Heat exchanger steam inlet
- F&T steam trap is common for stable drainage
- Keep valve protected from wet steam and debris
C) Sterilizers / autoclaves
- Pressure may fluctuate more
- Direct-acting may be more reliable in some cases
- Condensate control is still critical
Final Thoughts
For steam solenoid valves, installation layout is the difference between “works for years” and “fails every month.” A simple setup—Y-strainer + drip leg + steam trap + correct coil position—solves most recurring problems like leakage, chattering, and coil burnout.
If you want the next blog, I can write one of these:
- Steam solenoid valve buyer checklist (one-page template for purchasing)
- Water hammer prevention in steam systems (practical engineering tips)
- How to choose steam traps for different equipment (disc vs F&T vs thermostatic)