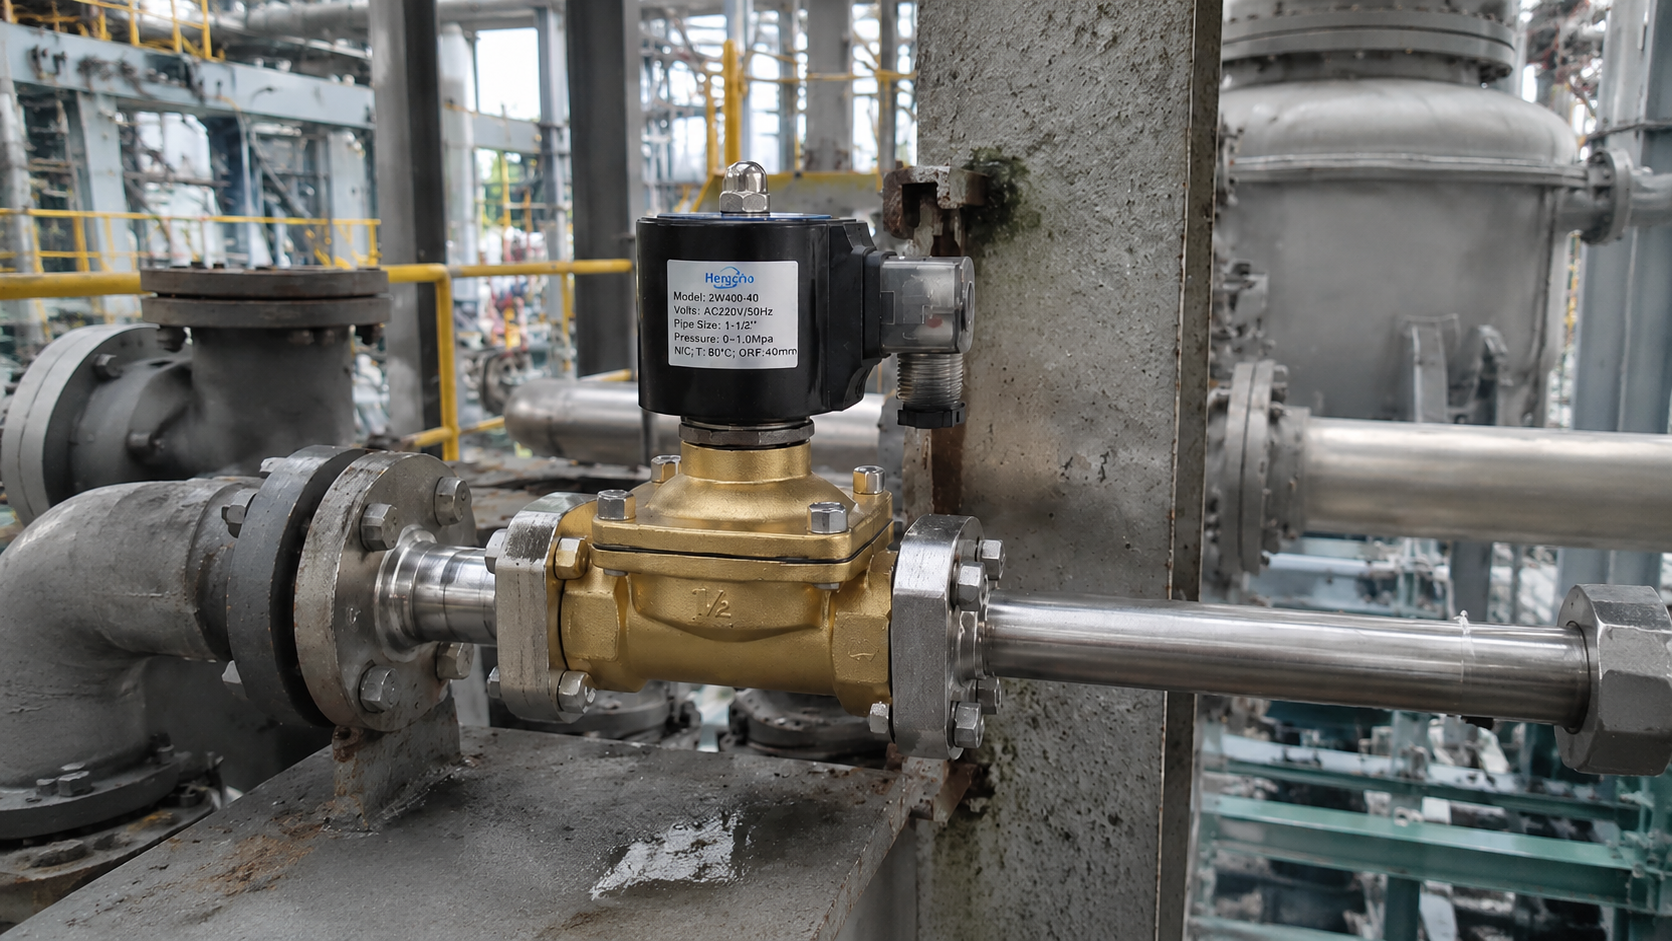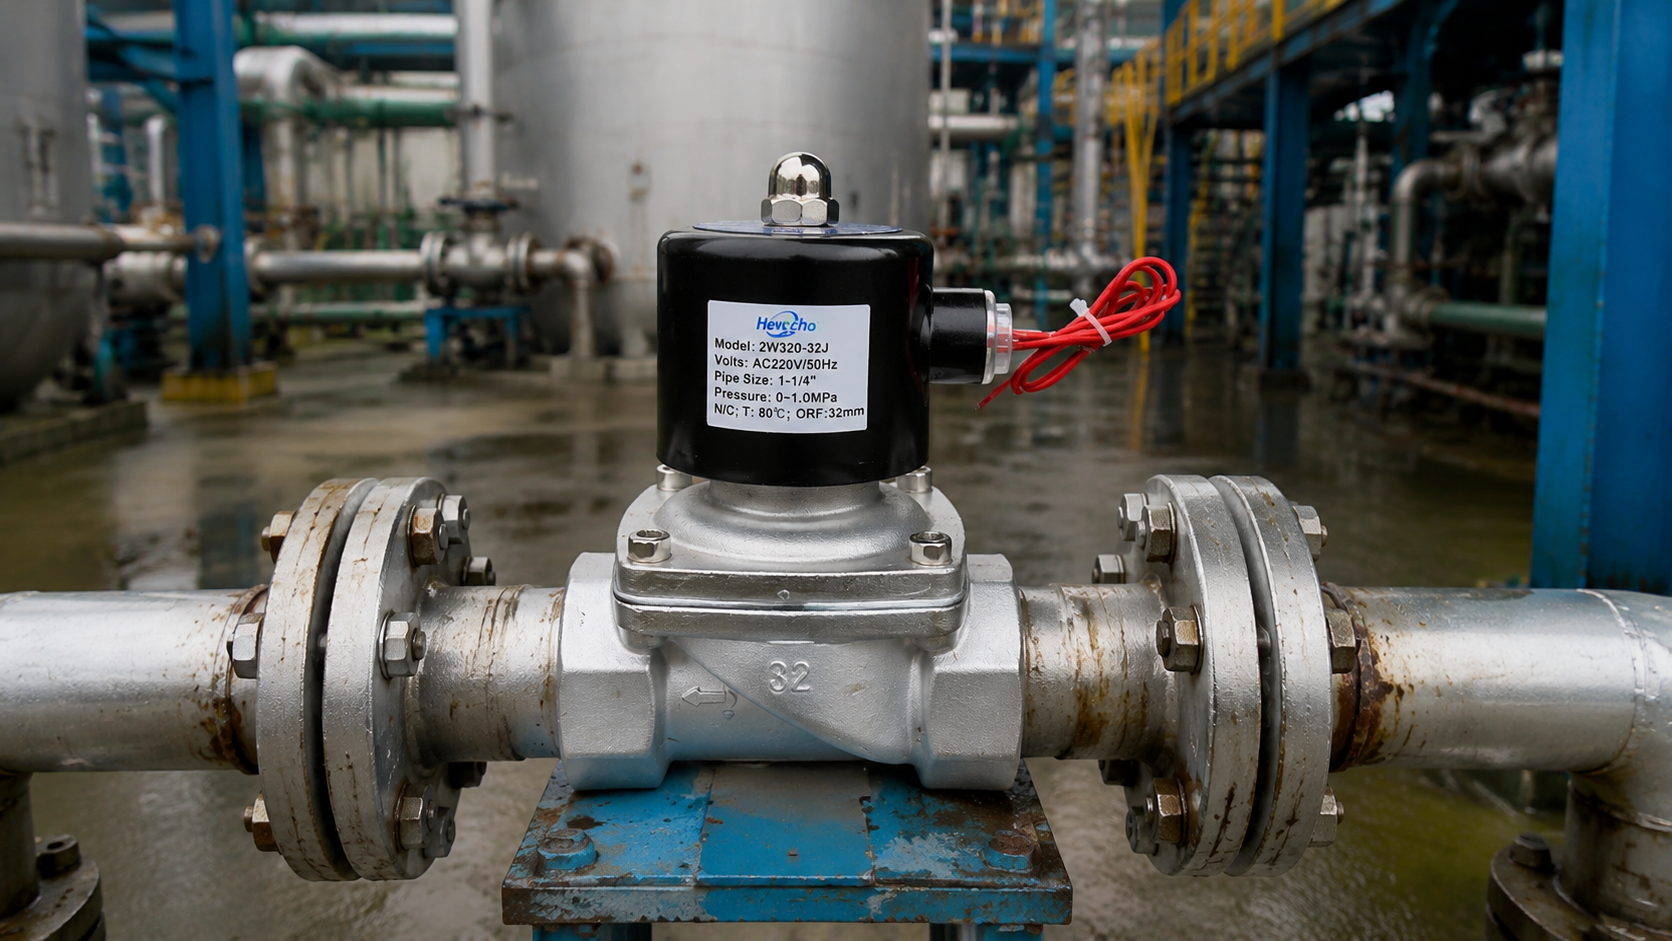


When a critical fluid pipeline stops working, the pressure is on the maintenance team to find the culprit quickly. If a 2-way solenoid valve refuses to open or close, the instinct is often to rip the entire valve out of the piping and replace it.
However, in the vast majority of cases, the heavy-duty brass or stainless steel valve body is perfectly fine. The failure is entirely electrical, isolated within the solenoid coil.
Replacing a burned-out coil takes two minutes and requires no pipe wrenches or fluid drainage. But before you swap parts, you must properly diagnose the issue. Here is a step-by-step technical guide on how to test a 2-way solenoid valve coil using a standard digital multimeter.
1. The Visual and Tactile Inspection
Before you even turn on your multimeter, your senses can often diagnose a dead coil.
- The Touch Test: If the 2-way valve is supposed to be energized (e.g., a Normally Closed valve that is currently commanded to be open), carefully touch the plastic housing of the coil. It should feel warm. If it is completely cold, it is not receiving power or the internal wire is broken.
- The Smell Test: If a coil has suffered a catastrophic short circuit due to an internal plunger jam or a voltage spike, it will melt the internal epoxy and wire insulation. This produces a very distinct, acrid smell of burnt plastic and ozone. If you smell this, the coil is permanently dead.
2. Safety First: Disconnect the Power
Never attempt to test the resistance of a coil while it is connected to a live power source.
- Shut off the power to the valve at the PLC or breaker.
- Remove the DIN connector or unplug the lead wires from the coil.
- You can leave the coil mounted on the valve body, or slide it off the armature tube for easier testing.
3. The Resistance Test (Measuring Ohms)
The core of a solenoid coil is simply a very long, continuous piece of copper wire wrapped thousands of times around a bobbin. If that wire breaks, the circuit is “open.” If the insulation melts and the wires touch each other prematurely, the circuit is “shorted.”
You can test this integrity by measuring the electrical resistance.
Step-by-Step:
- Turn your digital multimeter on and set the dial to Resistance (Ohms /
$\Omega$). If your multimeter is not auto-ranging, set it to the $2k$$\Omega$ or $20k$$\Omega$ range. - Take your two multimeter probes (red and black).
- Touch one probe to the first power terminal on the coil, and the other probe to the second power terminal. (Polarity does not matter for this test).
Reading the Results:
- A Healthy Coil: You should see a steady resistance reading. Depending on the voltage and wattage of your specific 2-way valve coil, this could range anywhere from 10 to 150+ Ohms. (Check your manufacturer’s spec sheet for the exact baseline resistance).
- Infinite Resistance (O.L. or 1): If the multimeter screen does not change and reads “Open Loop,” it means the copper wire inside the coil has snapped. Electricity cannot flow through it. The coil is dead and must be replaced.
- Zero or Near-Zero Resistance: If the reading drops to 0 or 1 Ohm, it indicates a massive internal short circuit. The electricity is bypassing the windings entirely. The coil is dead and must be replaced.
4. The Ground Fault Test
Even if the main resistance looks normal, the coil might be dangerously shorting out to the metal body of the 2-way valve, which will continuously blow your system fuses.
Step-by-Step:
- Keep the multimeter set to Resistance (Ohms).
- Touch one probe to the Ground pin on the coil (usually the flat, bottom pin on a DIN connector).
- Touch the other probe to one of the Power terminals.
- Move the probe to the other Power terminal.
Reading the Results:
In a healthy coil, there should be absolutely no electrical connection between the power terminals and the ground pin. The multimeter should read Infinite (O.L.) for both tests. If you get any resistance reading at all, the coil’s internal insulation has failed, and voltage is leaking to ground. Discard the coil immediately.
5. Don’t Forget to Test the Power Supply
If your coil passes the resistance test and ground fault test, the coil is completely healthy! This means the reason your 2-way valve is not opening is external.
Switch your multimeter to Voltage (AC or DC, matching your system). Carefully test the wires or the DIN connector coming from your controller while the system is commanding the valve to open.
- If you read 0 Volts, you have a broken wire, a blown fuse, or a bad PLC relay upstream.
- If you read a significantly lower voltage than required (e.g., 18V arriving at a 24V coil), you have a voltage drop issue, and the magnetic field is simply too weak to open the valve against the fluid pressure.
Conclusion
Understanding how to quickly troubleshoot electrical components is a massive cost-saving skill. By isolating the issue to the coil, you save your facility the expense and labor of draining pipelines to replace perfectly healthy 2-way brass or stainless steel valve bodies. If you find yourself replacing coils frequently, it is time to audit your system’s voltage stability or upgrade to premium coils with Class F or H high-temperature insulation.