
You have done the engineering math, calculated the correct Flow Coefficient ($C_v$), and selected the perfect brass solenoid valve with the right elastomer seals for your fluid. However, the reliability of that valve now rests entirely on one critical phase: installation.
Even the highest-quality valves will fail prematurely, leak, or refuse to operate if they are installed incorrectly. In the fluid control industry, the vast majority of warranty claims and system failures are not due to manufacturing defects, but rather simple installation errors.
Whether you are a seasoned piping contractor or a facility engineer, avoiding these five common installation mistakes will save you hours of troubleshooting and protect your system from unexpected downtime.

1. Ignoring the Flow Direction Arrow
This is the single most common mistake in valve installation. Solenoid valves are highly directional.
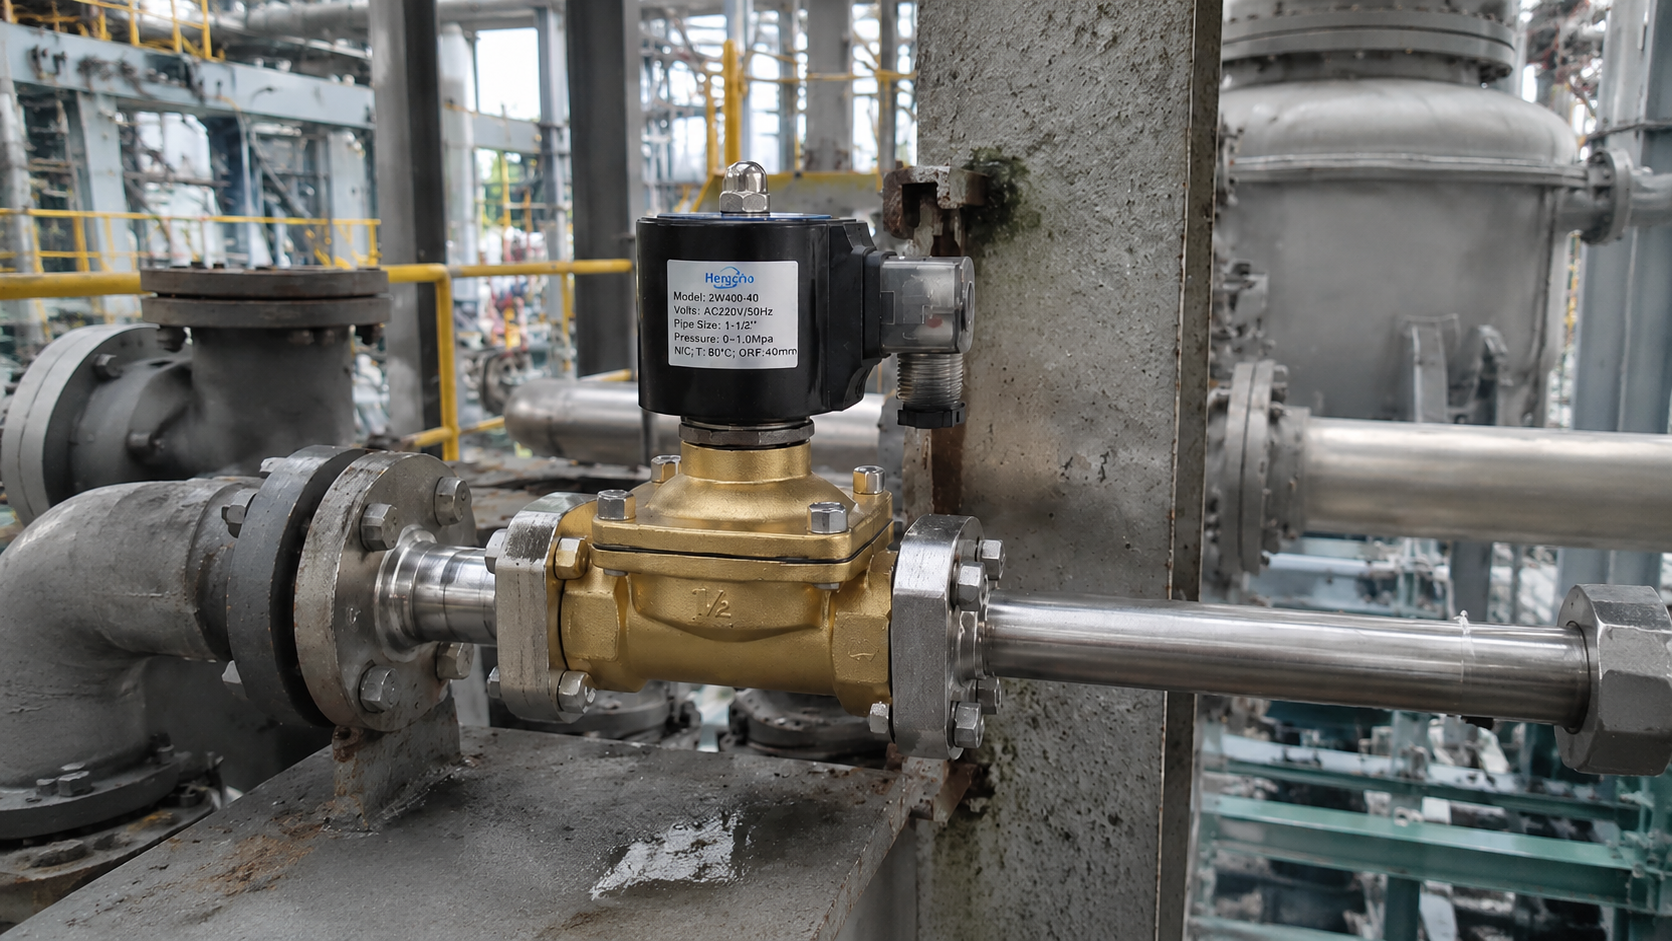
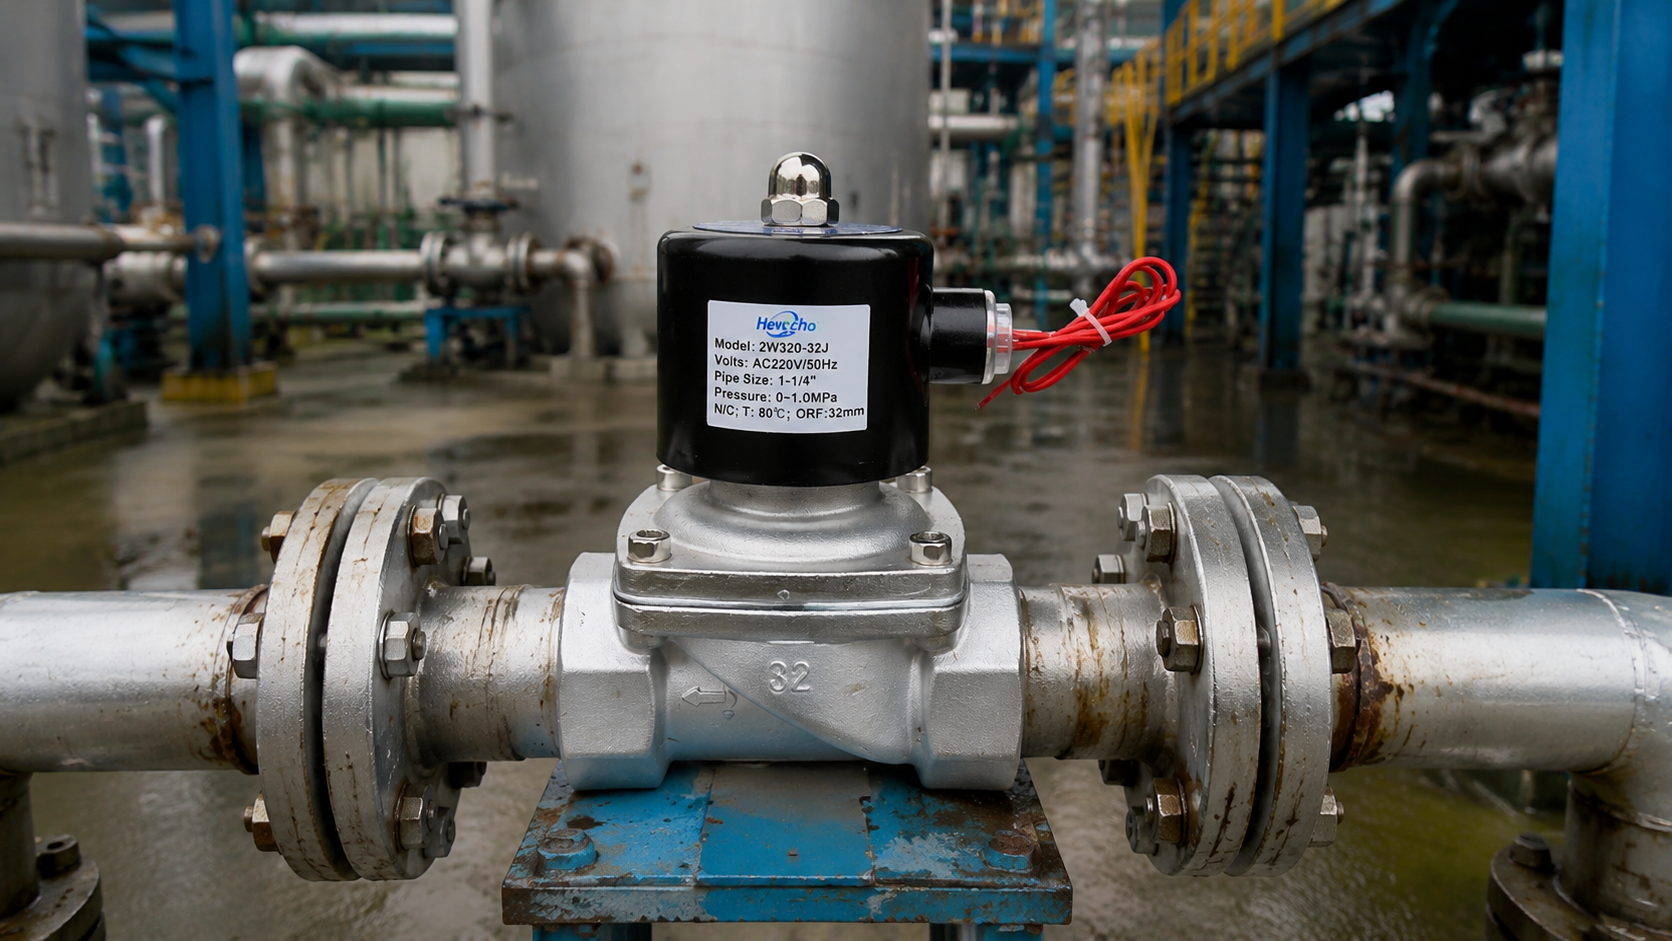
If you look closely at the brass or stainless steel body of the valve, you will see an arrow cast or stamped into the metal. This arrow indicates the required direction of fluid flow.
- The Consequence: If you install a pilot-operated or semi-direct acting valve backward, the inlet pressure will flow over the top of the diaphragm rather than underneath it. The valve will either fail to open, or worse, it will stay permanently open and fail to close when the power is cut.
- The Fix: Always verify the flow path before applying thread sealant. The higher pressure must always enter the port at the tail of the arrow.
2. Incorrect Coil Orientation
Solenoid valves are physically capable of being installed in any position—sideways, upside down, or at an angle. However, “capable” does not mean “optimal.”
- The Consequence: If a valve is installed upside down (with the coil pointing toward the floor), gravity becomes your enemy. Any rust, scale, or particulate matter in the fluid will naturally settle down into the plunger tube. Over time, this sludge will pack around the armature, causing the valve to jam and the coil to burn out. Furthermore, heat from the fluid will rise directly into the coil, reducing its lifespan.
- The Fix: The industry best practice is to install solenoid valves on a horizontal pipe run with the coil pointing straight up (vertical). This allows debris to flush through the main body without settling in the electromagnetic tube, and allows heat to dissipate safely into the ambient air.
3. Applying Teflon Tape Incorrectly
When connecting a valve to a pipe—especially when dealing with standard NPT (National Pipe Taper) or G-Threads—technicians often use PTFE (Teflon) tape or liquid pipe dope to create a watertight seal.
- The Consequence: If the tape is applied too close to the edge of the pipe thread, the mechanical action of screwing the pipe into the valve can shear off tiny, stringy pieces of the tape. These loose pieces of Teflon will flow directly into the valve orifice and embed themselves in the NBR or Viton seal, causing an immediate, permanent internal leak.
- The Fix: When applying thread tape, always leave the first one or two threads bare. Wrap the tape tightly starting from the third thread back. This ensures a tight seal without introducing foreign debris into the fluid path.
4. Skipping the Upstream Filtration
No matter how clean you think your city water or compressed air line is, it contains microscopic debris, pipe scale, or mineral buildup.
- The Consequence: Solenoid valves rely on precision-machined pilot holes and perfectly smooth rubber seals to function. A single grain of sand can block a pilot hole (causing the valve to refuse to open) or scratch a diaphragm (causing it to weep fluid when closed).
- The Fix: Always install a Y-strainer or an inline particulate filter directly upstream of the solenoid valve. For standard water and air applications, a 40-mesh or 80-mesh stainless steel screen is usually sufficient to catch valve-destroying debris while minimizing pressure drops.
5. Under-Sizing the Power Supply Cables
When dealing with low-voltage DC valves (like 12V or 24V systems), voltage drop is a silent killer.
- The Consequence: If you run a long length of thin-gauge wire from your power supply to a 24V DC valve, the natural resistance of the wire will cause the voltage to drop. By the time the electricity reaches the coil, that 24V might only be 19V. The valve will lack the magnetic strength to pull the plunger against the line pressure, leading to sluggish operation or complete failure to open.
- The Fix: Always calculate the voltage drop for your specific cable length and gauge. Ensure that the voltage measured at the coil terminals (while under load) is within $\pm 10\%$ of the coil’s rated nameplate voltage.
Conclusion
A successful fluid control system is built on precision, both in component selection and mechanical execution. By respecting flow direction, optimizing orientation, maintaining clean fluid paths, and ensuring solid electrical connections, you ensure your solenoid valves will deliver millions of trouble-free cycles.