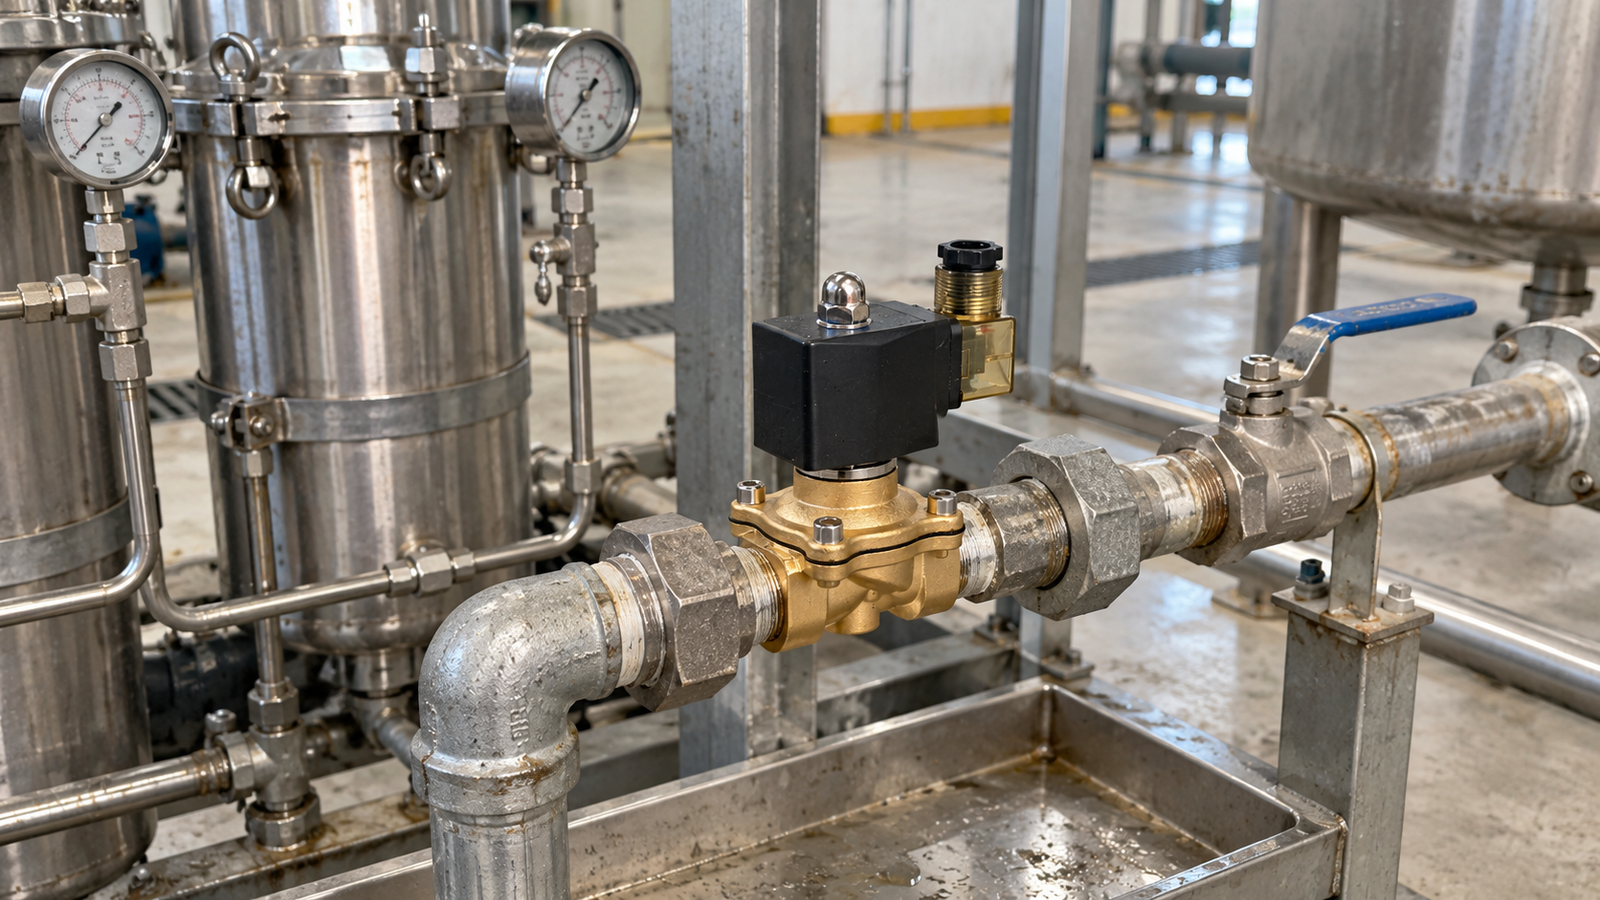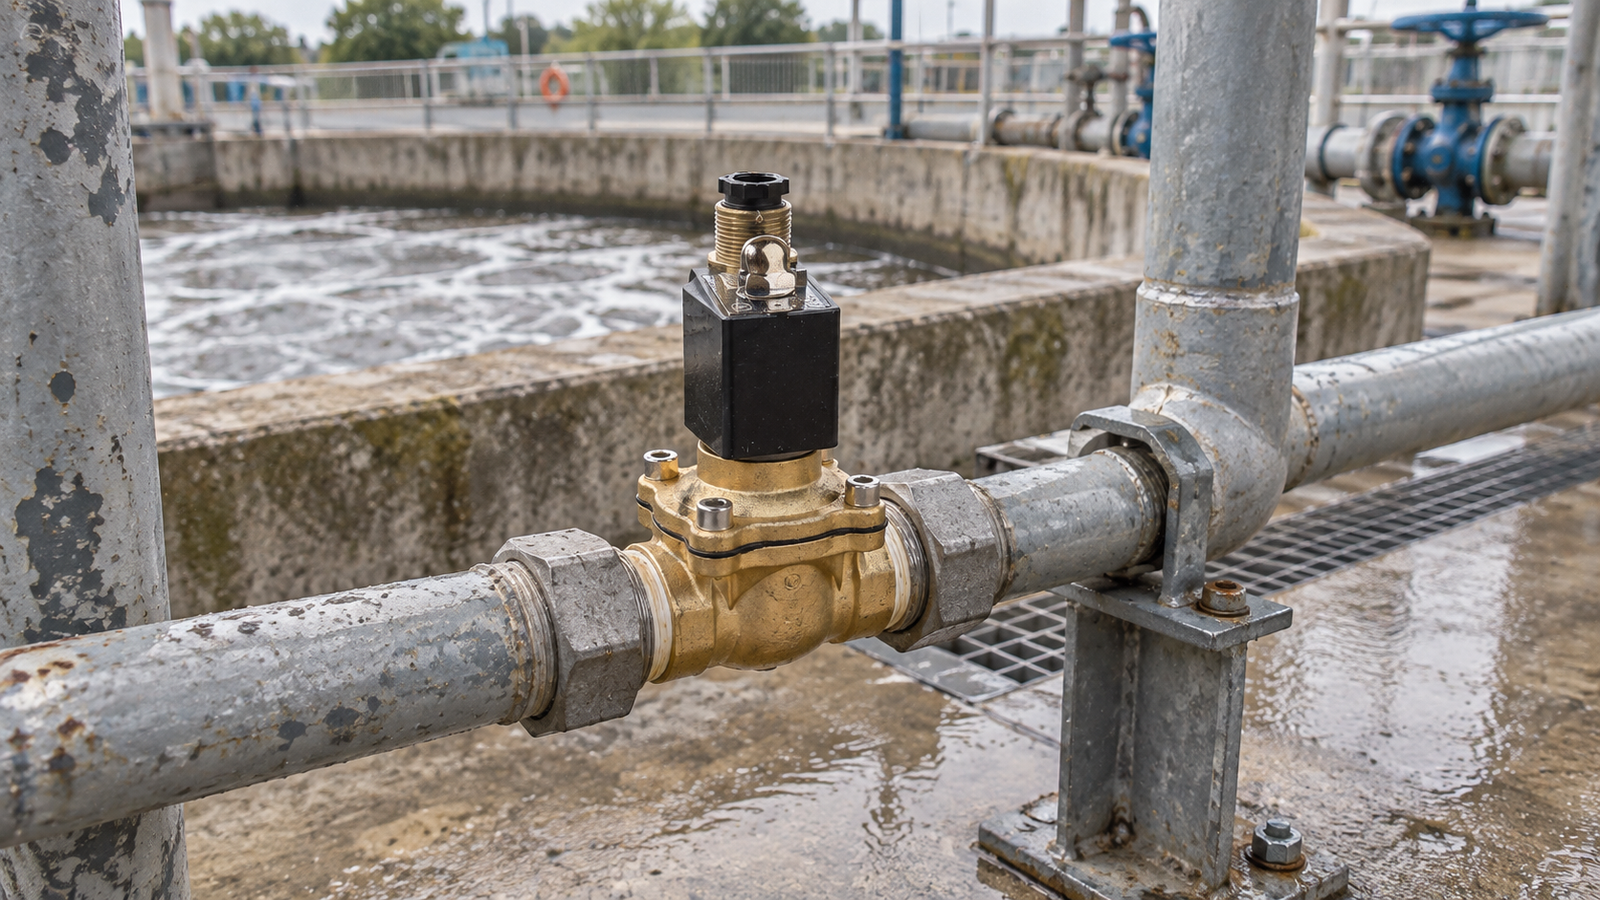
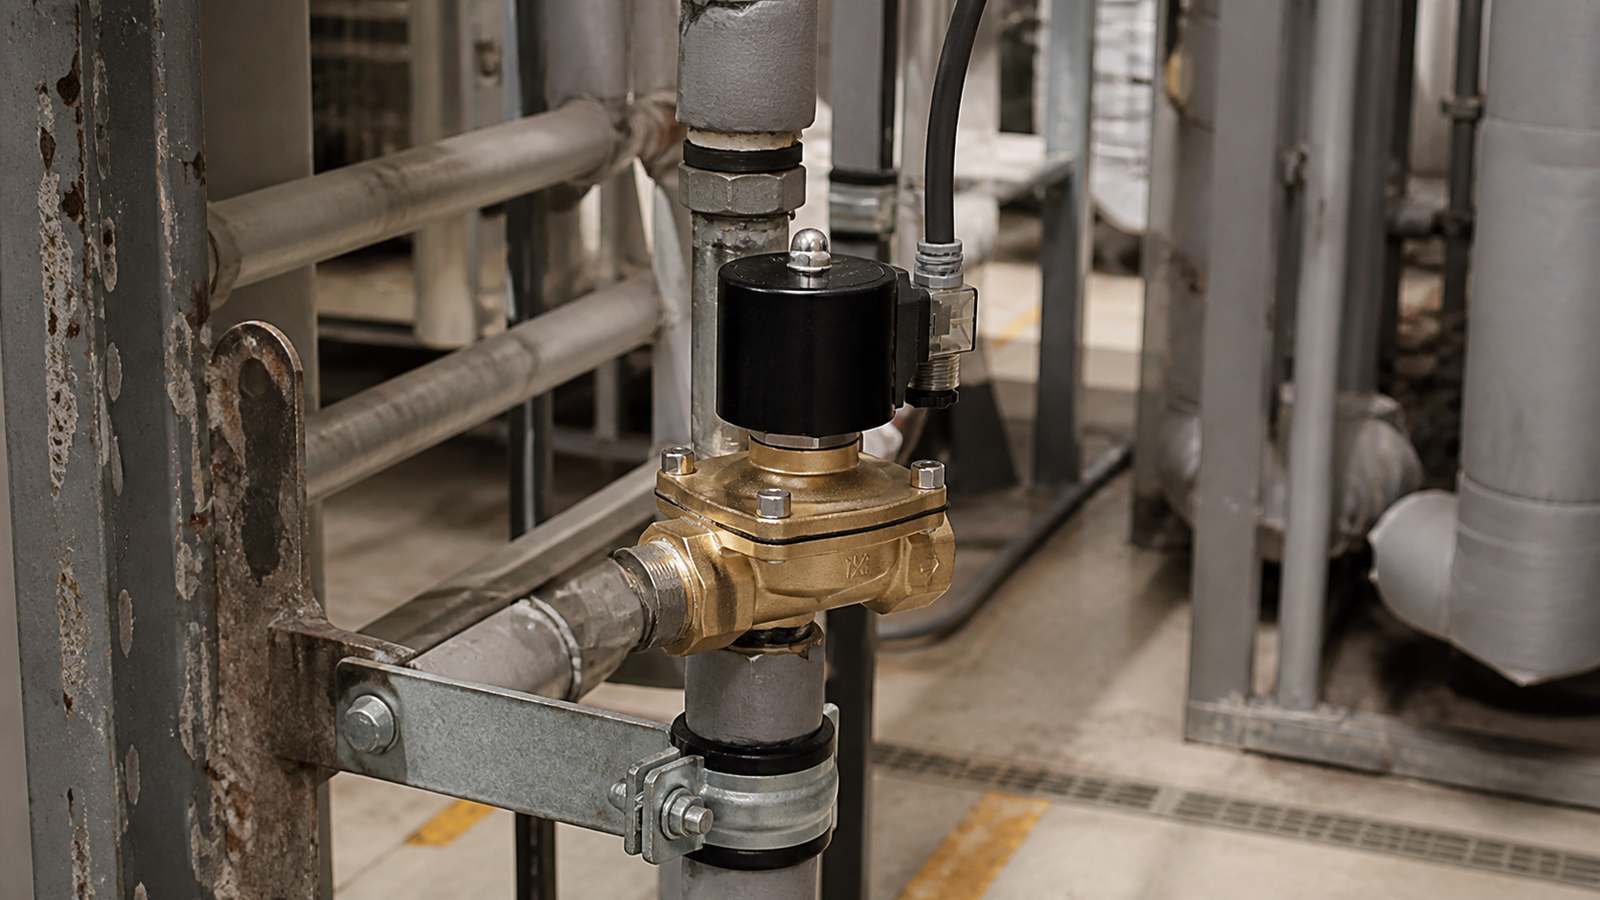
Solenoid valve maintenance is most effective when it is simple, visible, and repeated consistently. Many valve failures do not begin as sudden surprises. They begin as slow response, a faint leak, a hot coil, a dirty filter, a loose connector, or a small change in sound. If these early signs are noticed and recorded, maintenance teams can often correct the condition before it turns into downtime. The goal is not to inspect every component every hour. The goal is to build a realistic routine that matches the application.
Use Symptoms as Useful Information
A slow valve is telling the team something. The cause may be debris on the moving parts, low voltage at the coil, unstable pressure, a worn seal, or deposits from the medium. A valve that chatters may point to poor electrical supply, pressure fluctuation, or installation conditions. A valve that leaks after closing may be affected by particles, seal damage, or misapplied media. The symptom is not the diagnosis, but it is the beginning of a good troubleshooting path.
Operators should be encouraged to report what they observe in clear language. When did the issue appear? Does it happen during startup or after the system is warm? Is the valve energized continuously? Was a filter recently cleaned? These details help technicians avoid guessing and shorten the repair cycle.
Keep Contamination Under Control
Particles are one of the most common enemies of stable solenoid valve operation. Rust, scale, sand, sealing tape, welding residue, and chemical deposits can interfere with sealing surfaces and movement. Even a small particle can prevent tight closure. This is why upstream filtration is often more valuable than it looks. A clean filter protects the valve, the downstream equipment, and the maintenance schedule.
Filter maintenance should be based on actual line conditions. A new pipe system may release more debris during early operation. A water line may form scale over time. A chemical line may leave deposits depending on temperature and concentration. Inspecting filters at planned intervals and adjusting the schedule based on what is found is more reliable than relying on a fixed guess forever.
Protect Coils From Heat
Coil health is central to valve reliability. Excessive heat can shorten insulation life and cause intermittent failure. Heat can come from continuous energizing, high ambient temperature, poor ventilation, nearby hot equipment, or incorrect voltage. A coil that is too hot to touch comfortably deserves attention, especially if the condition is new or localized to one installation.
During maintenance, technicians should inspect coil housings, connectors, cable insulation, and signs of discoloration. Voltage should be measured at the valve during operation, not only at the control cabinet. A long cable run or weak connection can create voltage drop that does not appear in a panel-only check.
Check the Mechanical Installation
Mechanical installation influences daily performance. Flow direction should match the valve body marking. Pipe stress should not force the valve body out of alignment. Thread sealant should not enter the valve. If vibration is present, supports and fittings should be checked. If the environment is wet or dusty, connector protection should be reviewed. Many maintenance problems are really installation problems that keep repeating.
Access is another practical issue. If a valve is difficult to reach, it is less likely to be inspected before failure. Where possible, valves should be placed so technicians can check the coil, connector, and filter with normal tools and safe posture. Maintenance-friendly layout pays back for years.
Understand Duty Cycle
Some valves switch occasionally, while others cycle many times during each production run. Frequent switching increases mechanical activity and may increase coil heating. Continuous energizing has a different stress pattern. Maintenance intervals should reflect this difference. A valve in heavy automated service should not be treated the same as a valve used only during occasional filling or draining.
Duty may also change after process improvements. A controller update, faster production speed, new pump, or changed cleaning cycle can increase the work a valve performs. When repeated failures appear after a process change, the valve application should be reviewed instead of simply replacing the same part again.
Inspect Removed Parts
Replacement is a chance to learn. A removed valve can reveal deposits, seal wear, corrosion, coil damage, or heat exposure. If the valve is discarded without inspection, the team loses useful information. A quick review of the failed part often points toward the true cause and prevents the next replacement from failing for the same reason.
Spare parts should also be stored carefully. Clean, dry storage and clear identification help prevent wrong-part installation. Similar-looking valves may be intended for different media, temperature, or electrical supply. Maintenance teams need a storage system that makes correct selection easy under pressure.
Reliability Comes From Regular Habits
A dependable maintenance routine is built from modest actions performed consistently. Keep the medium clean, protect the coil, check electrical connections, observe pressure behavior, and document symptoms. These practices reduce emergency repairs and give the team a clearer view of the system. In industrial flow control, quiet consistency is often the best sign that the maintenance routine is working.
Review the Whole Flow Path
When a valve problem appears, it is tempting to focus only on the valve body. In practice, the complete flow path should be reviewed. Upstream pipe condition, filter loading, pump behavior, pressure regulation, downstream restrictions, and media temperature can all change how the valve behaves. A maintenance routine that includes the surrounding system gives technicians a better chance of finding the real cause instead of replacing the same component repeatedly.
This system view is especially important in automated equipment. A valve may be blamed for delayed motion when the true issue is pressure loss, slow refill, or a restriction elsewhere in the circuit. Checking the flow path turns troubleshooting from guessing into a disciplined process.